
Land (36)
- 1x Adarkar Wastes
- 1x Ancient Den
- 1x Arid Mesa
- 1x Blood Crypt
- 1x Bloodstained Mire
- 1x City of Brass
- 1x Command Tower
- 1x Darksteel Citadel
- 1x Exotic Orchard
- 1x Flooded Strand
- 1x Ghost Quarter
- 1x Godless Shrine
- 1x Great Furnace
- 1x Hallowed Fountain
-
1x
Inventors' Fair

- 6x Island
- 1x Mana Confluence
- 1x Marsh Flats
- 1x Mountain
-
3x
Plains
- 1x Polluted Delta
- 1x Sacred Foundry
- 1x Scalding Tarn
- 1x Seat of the Synod
- 1x Spire of Industry
- 1x Steam Vents
- 1x Swamp
- 1x Vault of Whispers
- 1x Watery Grave
Planeswalker (1)
Enchantment (1)
Artifact (22)
- 1x Aether Spellbomb
- 1x Altar of the Brood
- 1x Ashnod's Altar
- 1x Azorius Signet
- 1x Chromatic Sphere
- 1x Codex Shredder
- 1x Conjurer's Bauble
- 1x Dimir Signet
- 1x Fellwar Stone
- 1x Ichor Wellspring
-
1x
Implement of Combustion
-
1x
Implement of Improvement
- 1x Izzet Signet
- 1x Krark-Clan Ironworks
-
1x
Necrogen Spellbomb
- 1x Nihil Spellbomb
- 1x Nim Deathmantle
-
1x
Prophetic Prism
- 1x Pyrite Spellbomb
- 1x Sol Ring
- 1x Sword of the Meek
- 1x Thopter Foundry
Creature (13)
Commander (1)

Instant (15)
-
1x
Anguished Unmaking
- 1x Brainstorm
- 1x Counterspell
- 1x Cyclonic Rift
- 1x Dispatch
- 1x Faith's Reward
- 1x Mystical Tutor
-
1x
Path to Exile
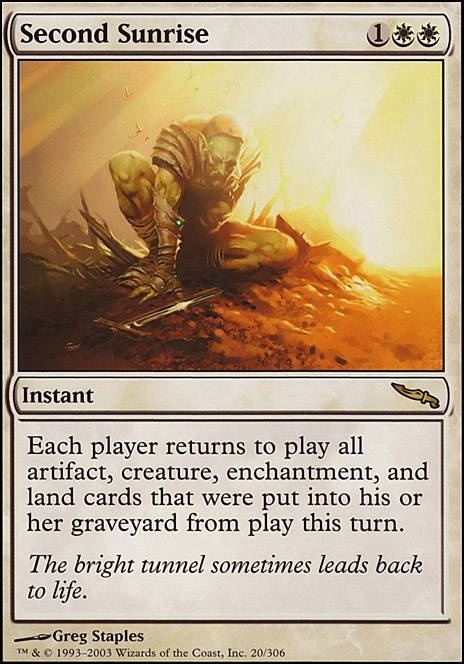
- 1x Second Sunrise
- 1x Silence
- 1x Swan Song
- 1x Thirst for Knowledge
- 1x Wear / Tear
-
1x
Whir of Invention
Sorcery (11)
Suggestions
Updates Add
Comments
Attention! Complete Comment Tutorial! This annoying message will go away once you do!
Important! Formatting tips — Comment Tutorial — markdown syntax
Please login to comment
| Date added | 7 years |
| Last updated | 6 years |
| Legality | This deck is Commander / EDH legal. |
| Rarity (main - side) | 3 - 0 Mythic Rares 38 - 0 Rares 20 - 0 Uncommons 28 - 0 Commons |
| Cards | 100 |
| Avg. CMC | 2.28 |
| Tokens | Bird 2/2 U, Emblem Daretti, Scrap Savant, Servo 1/1 C, Thopter 1/1 U |
| Votes | |
| Ignored suggestions | |
| Shared with | |
| Views |